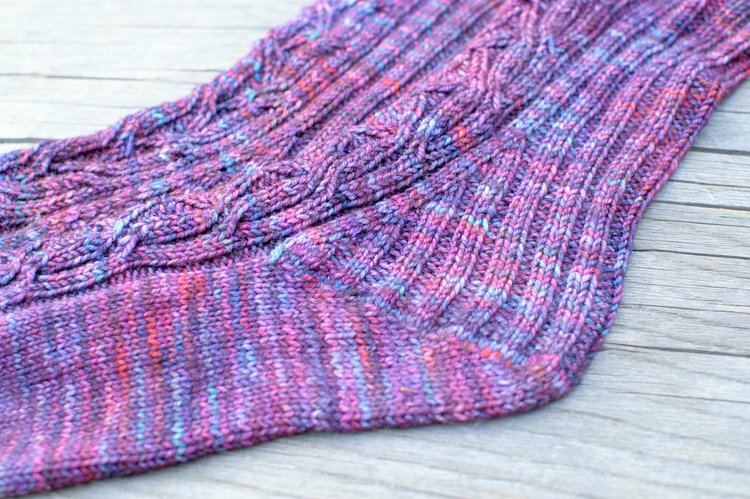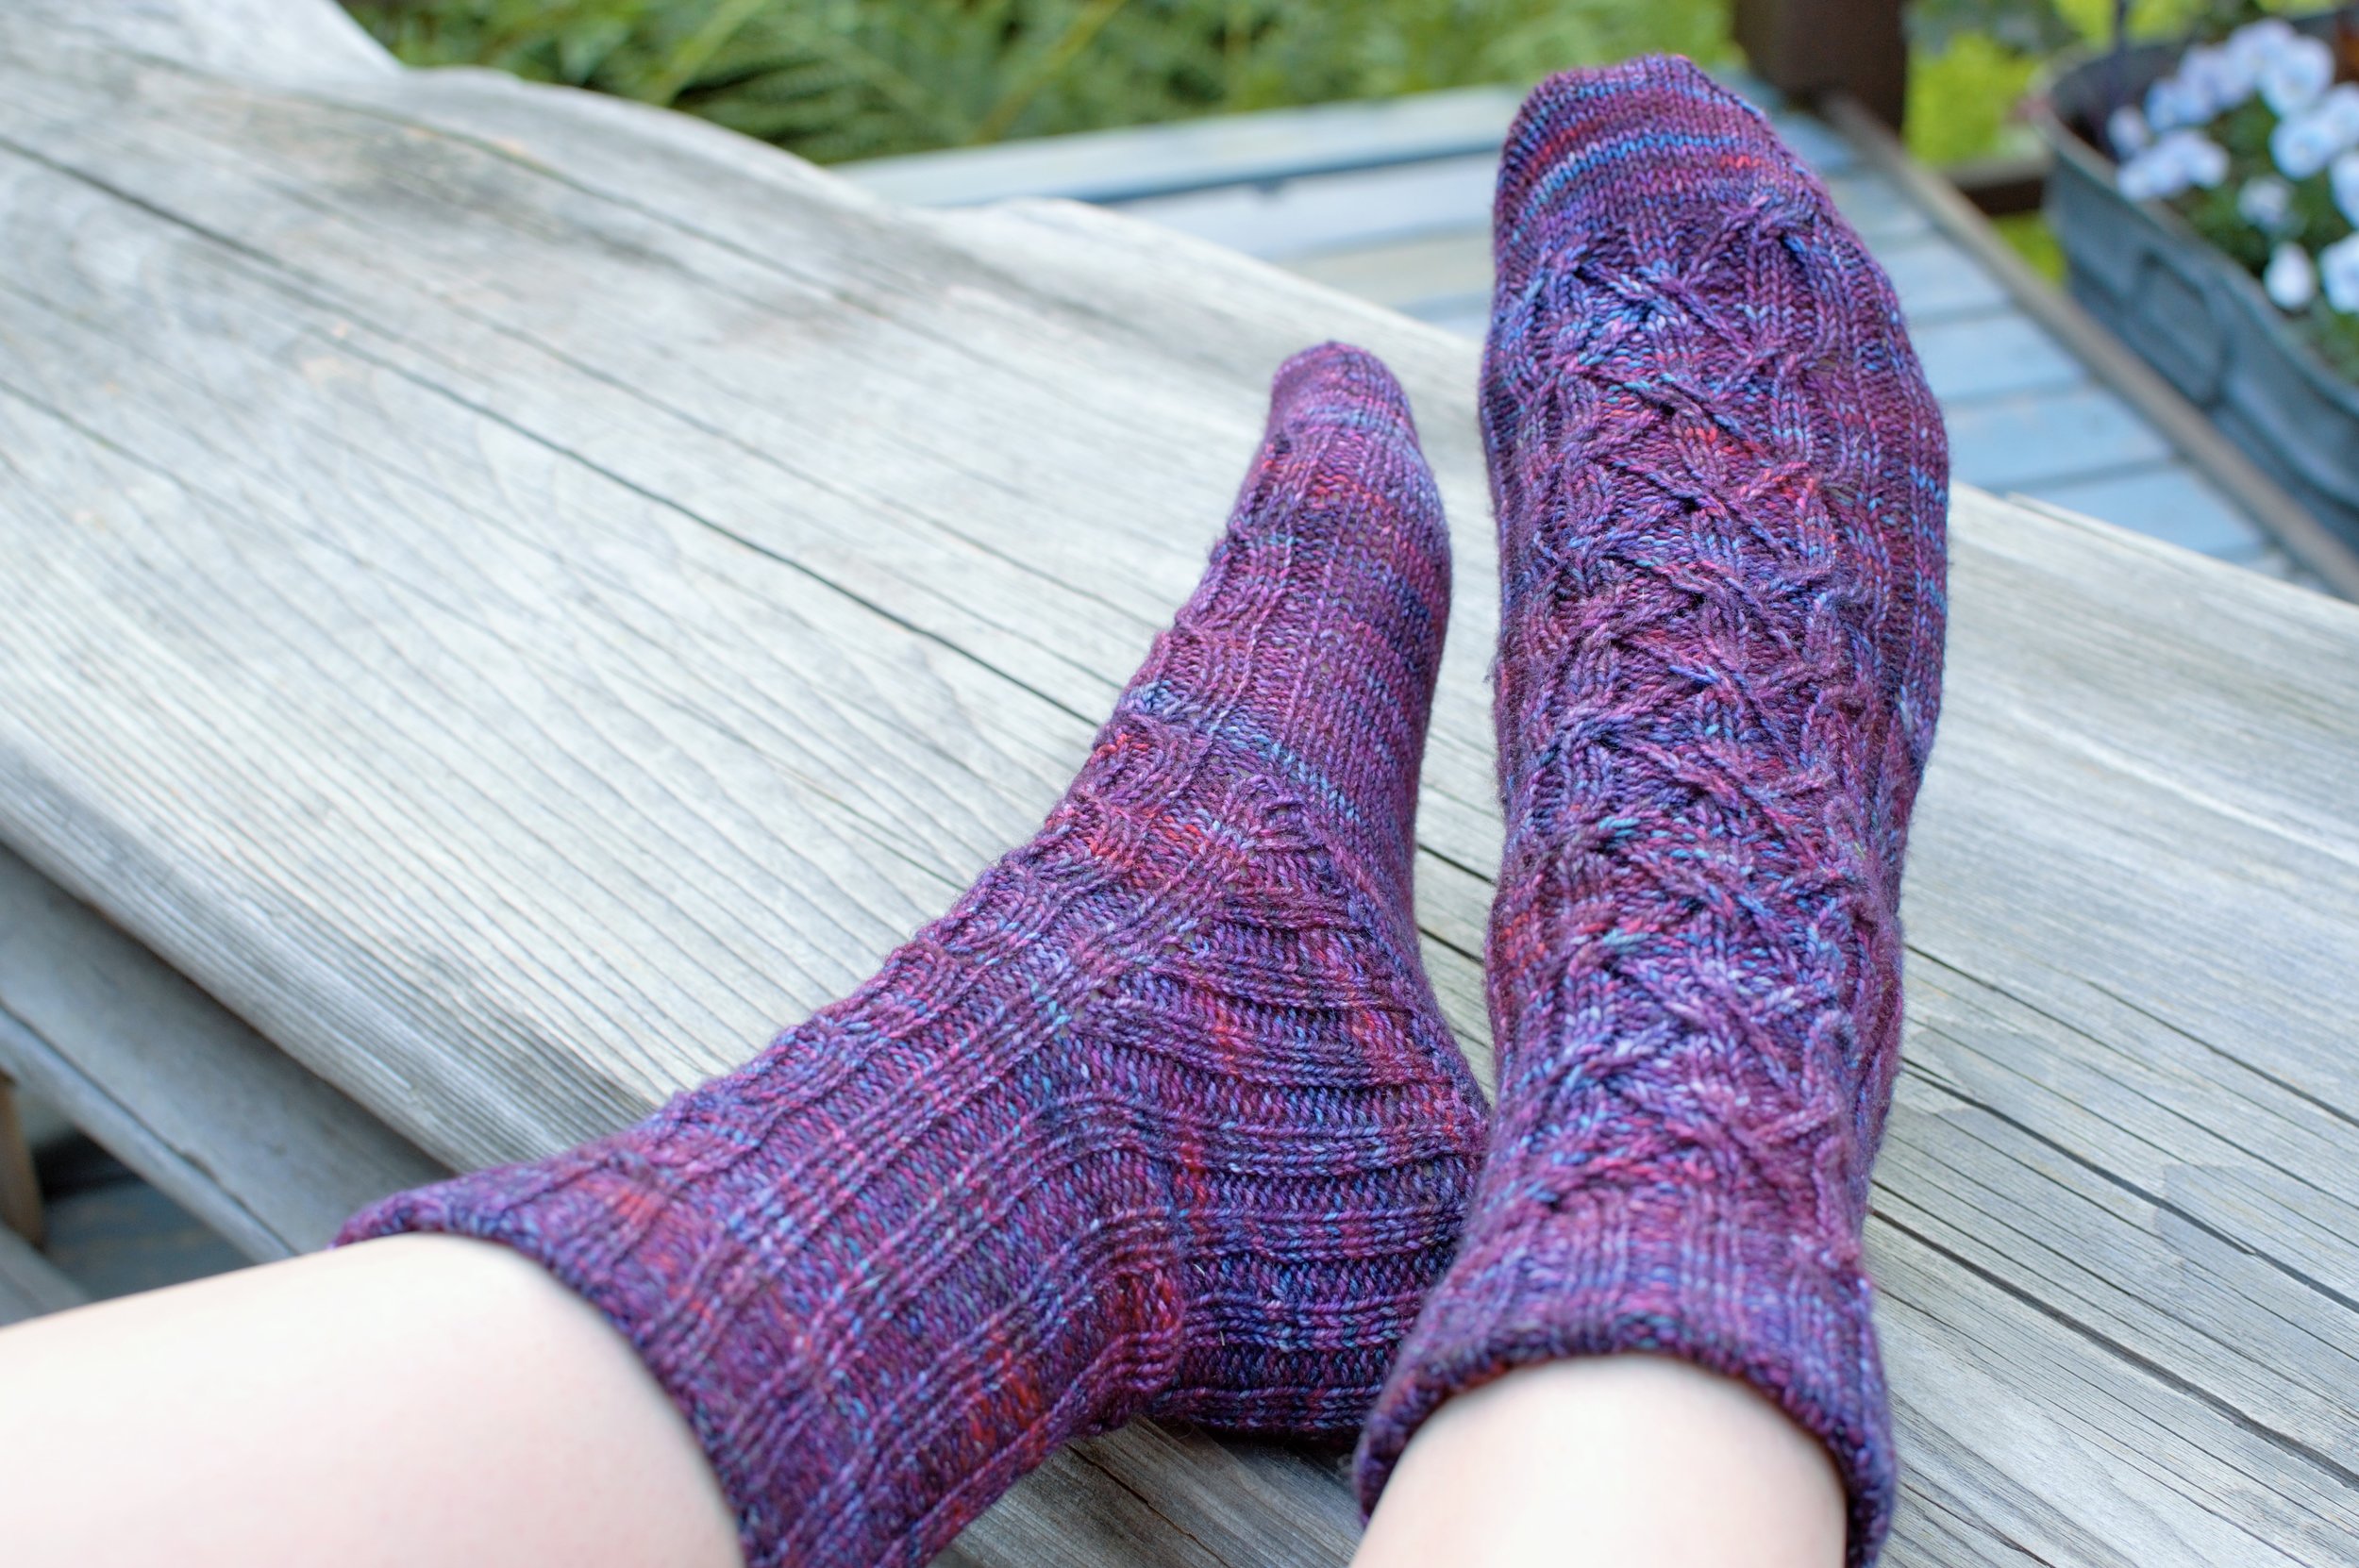
A pair of feet wearing variegated purple socks with cables up the front and ribbing along the back are resting on a driftwood bench.


Have you ever bought yarn that was just dying to be something specific? This happens to me with sock yarn sometimes; I’ll pick up a particularly pretty skein in store without a project in mind and end up browsing Ravelry for ages looking for the perfect pattern to bring it to life, but none of them seem quite right. That’s exactly what happened with this Malabrigo Sock Yarn that I impulsively grabbed the last time I was at Argyle Yarns. The multifaceted colourway (Aniversario) was calling to me but I wasn’t quite sure which sock pattern off my current “to knit” list I was going to pair it with. Once I got it home and wound it into a cake it became clear that this yarn had a mind of its own and I was just along for the ride, so I cast on without a pattern and ended up putting together a pair of socks fit for a king!

I named the Kings County Socks partly for their regal colour and partly because they’re inspired by Brooklyn’s unique mix of exaggerated aesthetics and no-nonsense attitude. They start off with a big, squishy fold over cuff which, let’s be honest, is unnecessarily luxurious. Usually cuffs are purely functional, but why not treat yo’self every once in a while? After joining the provisional cast-on, the cuff transitions smoothly into a 2×2 rib down the leg of the sock because there’s nothing better than a sock that hugs your foot. At that point the yarn was like, “hey, this is a good thing we’ve got going here… let’s just roll with it” so the socks incorporate a Strong-style heel (modelled afterthe one that Gerdine Crawford Strong designed for the Fall 2003 issue of Knitter’s Magazine) in order to maintain the ribbing right down to the heel turn.
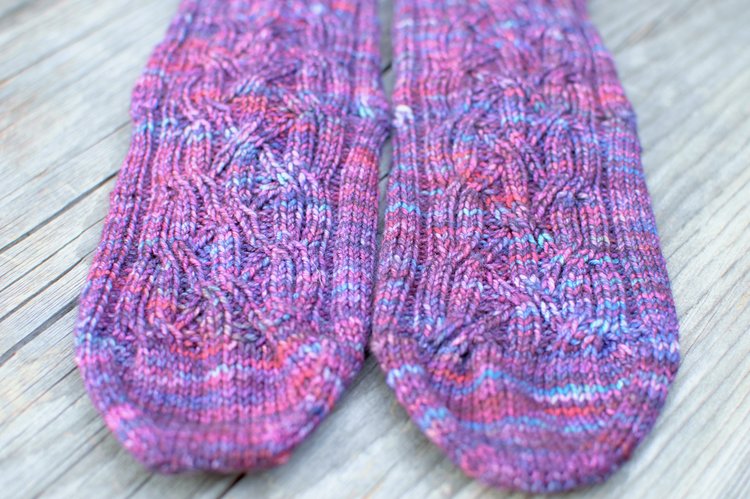
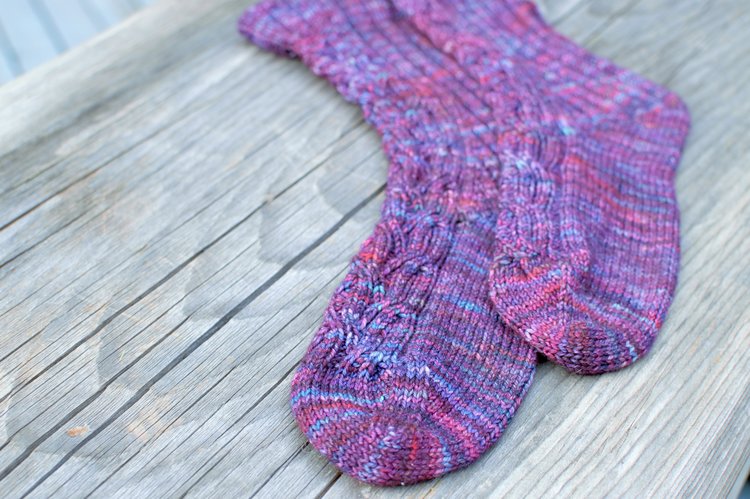
The beauty of this heel is that not only does it allow you to increase in pattern and thus gives you a heel that’s well fitted to the curves of your ankles, but it has no wrapping, no picking up stitches, and no measuring anything. All it is is a super simple mix of gusset increases followed by short row decreases. This utility is offset by the cable panel that runs down the front of the sock between the cuff and the toe, which is from Norah Gaughan’s lovely Knitted Cable Sourcebook. The book is an excellent resource for any knitter because not only does it contain examples of different stitch patterns but also goes into depth about the way Norah works with the different aspects of cables to develop unique textures and motifs. I love the way that these turned out and I’m ecstatic that I was able to put together a pair of socks deserving of this skein of yarn; I hope you enjoy knitting them as much as I did!

BUY THE PATTERN NOW

My King’s County Socks are written with an optional foldover cuff that calls for a provisional cast on. I’ve found when working provisional cast ons in the past that most instructions are written to start with either a crochet chain or a looped cast on where the provisional stitches are held on waste yarn until you’re ready to work them again. Here’s the thing though (which I figured out one day when I was grumbling to myself about how fiddly it is to transfer those provisional stitches from the waste yarn onto a needle without twisting them or dropping them or hoping that you don’t have to go back and re-knit the whole thing because you cast them on too tight) – if you have a spare circular needle lying around with a cable long enough to hold all your stitches you can cast on onto that and then work directly from the needle later, saving yourself the time spent grumbling and fiddling to pick up stitches from waste yarn when you’re ready to knit from your cast on again. As a bonus, it’s much easier to get into the rhythm of a looped cast on with two needles than it is with one needle and waste yarn; score one for lazy shortcuts. While I wouldn’t recommend holding all your provisional stitches on a circular needle for larger projects like the body of a sweater (unless you have a very long cable for said needle and are very confident that none of your stitches will slip off before you’re ready to work them again) it works perfectly for smaller magic-loop projects like hat brims or sock cuffs. The needle sizes and number of stitches listed below are specific to my King’s County Socks, but this method can be used for any number of stitches and any weight of yarn with the appropriately sized needles.

Beginning Provisional Cast-On:

For this cast on you’ll need two circular needles:

  • one size 2.5mm/US 1.5 (or whatever size you used to get gauge) which will be used to hold the live provisional stitches and
  • one size 2.25mm/US 1 (or one size smaller than you used to get gauge) which will be used to knit the cuff itself

Note: you can use DPNs in place of the smaller needle if you’d like to knit your cuff with those instead of using magic-loop. In that case, I would cast on all the stitches onto one single DPN (steps 1-5) and then rearrange them when you are ready to join in the round (as stated in step 6.) 

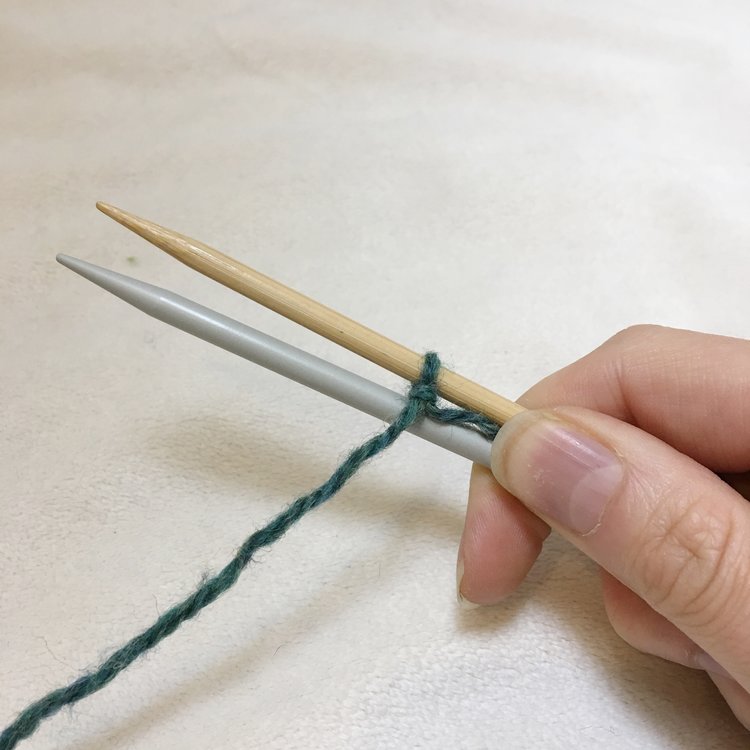
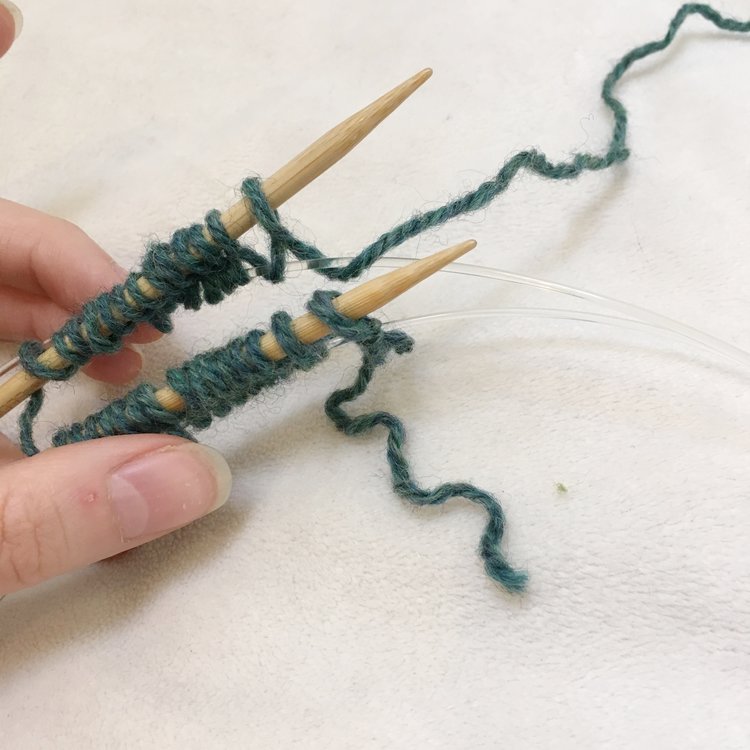
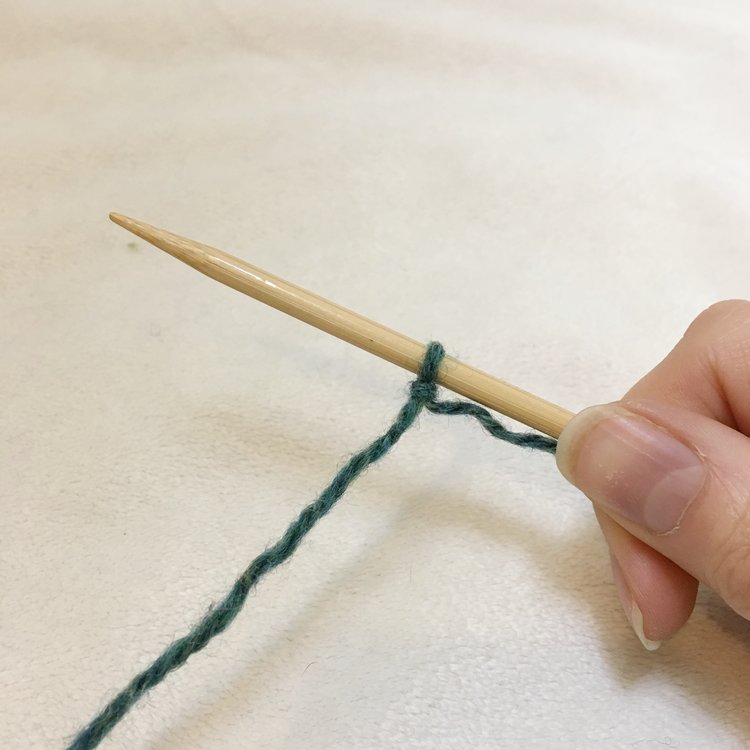
1. Leaving a two inch tail, tie a slip knot in your yarn and tighten it around your smaller (working) needle.

2. Use your right hand to hold this needle and the tail of the yarn with the larger (provisional) needle directly below.

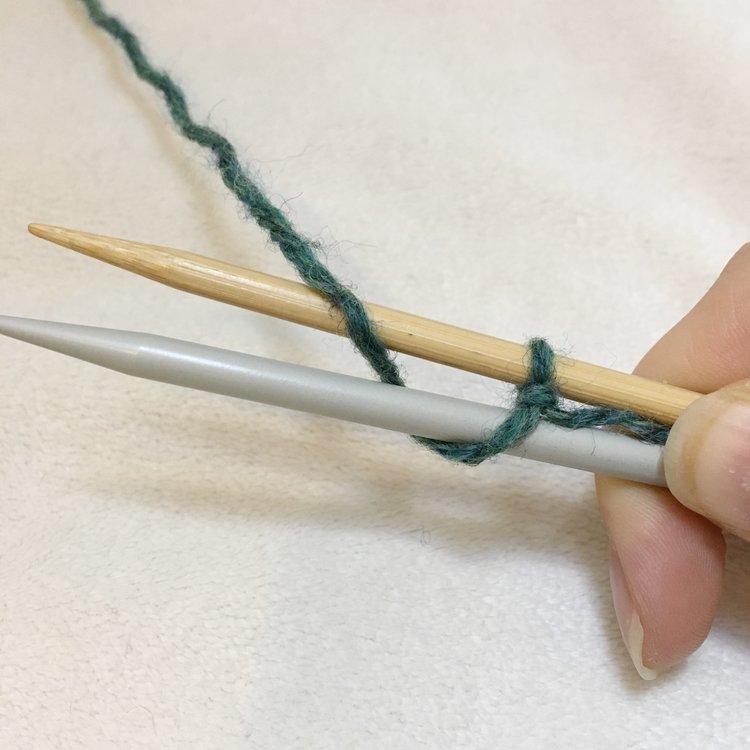
3. Wrap the yarn in front of and under the lower needle…

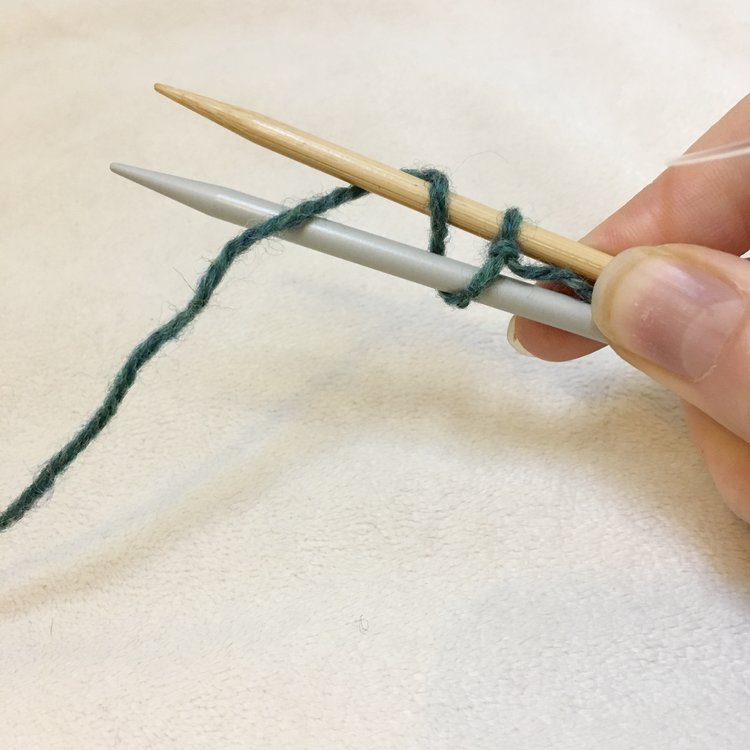
4. Then in front of and over the upper needle.

5. Repeat 3&4 until you have 60[68] stitches on each needle; ending after a Step 3. Pull the lower (provisional) needle through so the stitches rest on the cable.

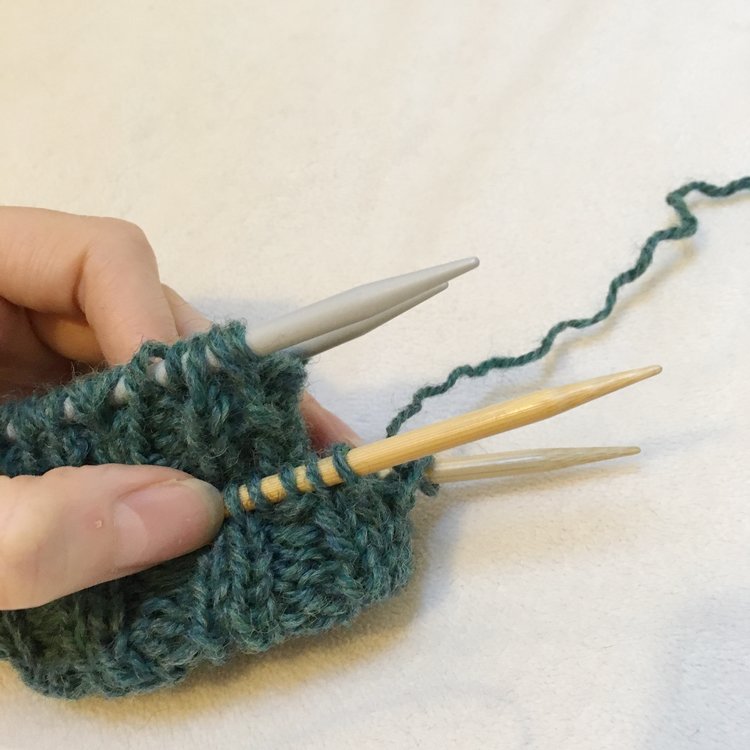
6. Rearrange your stitches & join to work in the round. The lower needle will hold your provisional stitches until you’re ready to join them.

Joining Provisional Cast On

Once you’ve worked 30 rounds of ribbing you need to join your provisional cast on to create the fold over cuff.

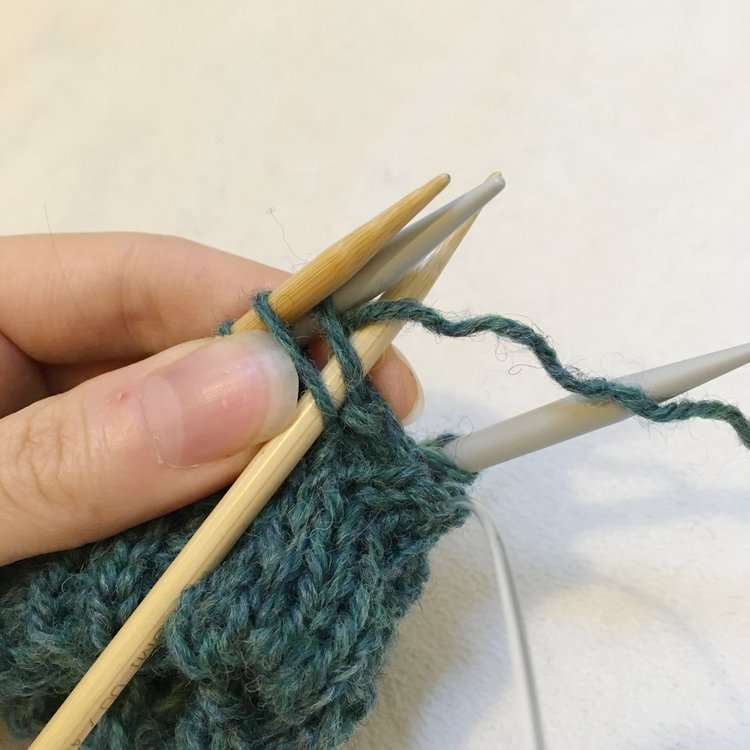
1. Fold the bottom of your cuff upwards so that you can position your provisional stitches inside of the round you just worked. Pull the stitches off of the cable and onto the needles, arranging them so that they match up with the stitches on your working needle.

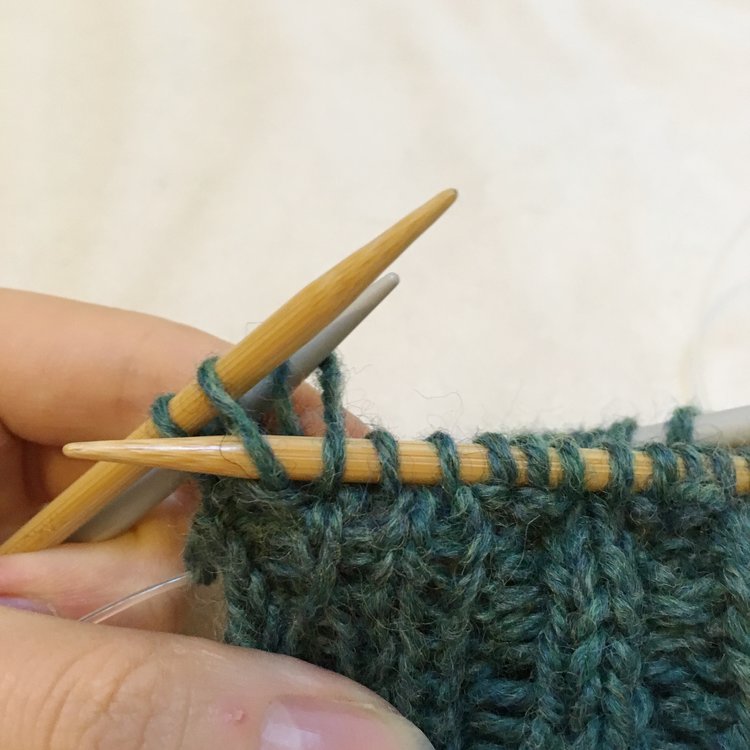
2. Working in your established pattern of 2×2 rib, when you come to a knit stitch place your right needle knitwise through the front of the first stitch on the working needle and the first stitch on the provisional needle and knit them together, combining them into a single stitch.

3. When you come to a purl stitch place your right needle purlwise through the front of the first stitch on the provisional needle and the first stitch on the working needle and purl them together, combining them into a single stitch. You should end this round with 60[68] stitches total.

If you want the security of waste yarn keeping your stitches safe or you don’t think navigating around the bulk of an extra needle for a few rows is worth saving a step when picking your provisional stitches back up to work them again, I’d recommend Purl Soho’s One Step Provisional Cast On tutorial which uses a crochet chain method. What’s your favourite way to cast on provisionally? Do you have any other tips & tricks for lazy knitters like me?