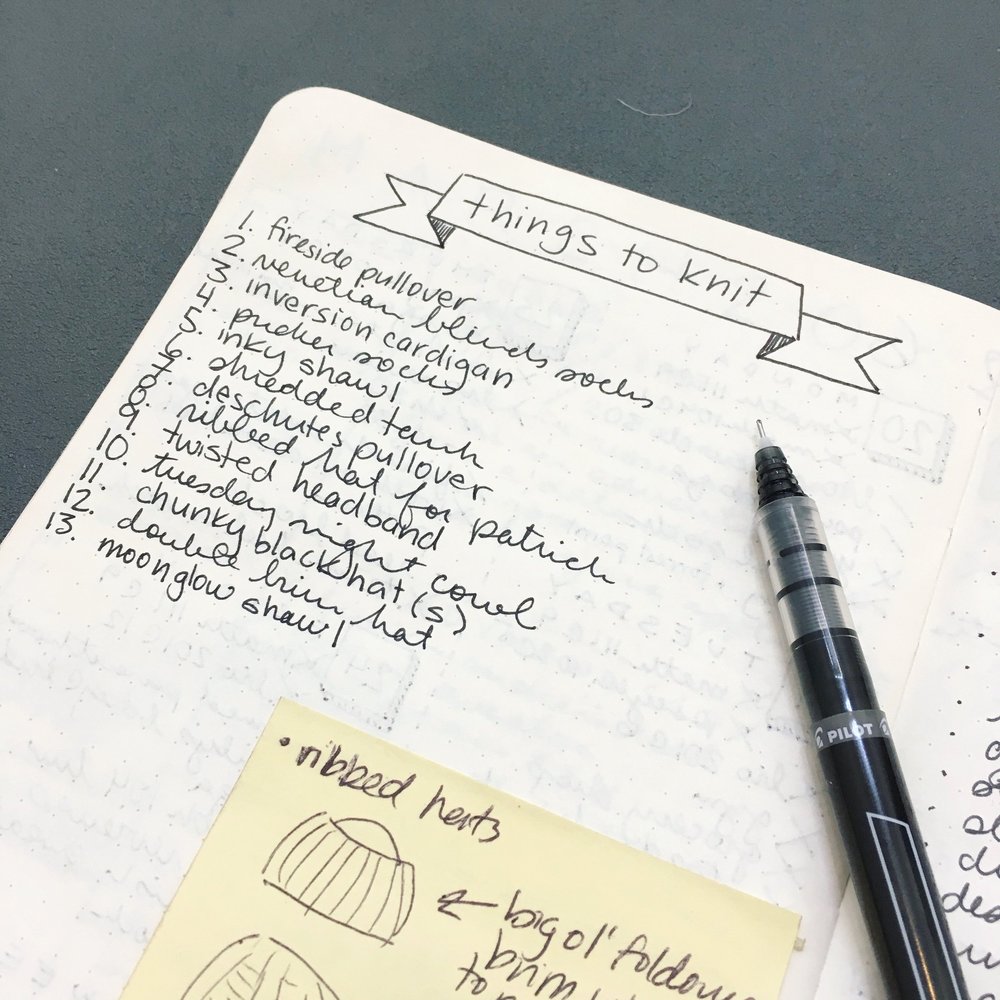
Now that the first quarter of 2017 has come and gone (I’m sorry, it’s April already?! Are you sure?) it seems as good a time as any to check in with where we’re at in terms of the goals we set ourselves at the beginning of the year. I don’t usually make any formal new year’s resolutions, but I did have a few overarching knitting themes for the year; they say tracking your progress is important in goal setting and so is accountability, so I’m going to let y’all have a peek at my knitting bucket list. It’s ever-evolving and I keep doing that thing where I find fun new projects that I want to knit rather than actually working through the ones that have been in my queue for ages with yarn wound and ready to go, but there’s still 8 whole months left in 2017 right? I’ll get to them eventually.
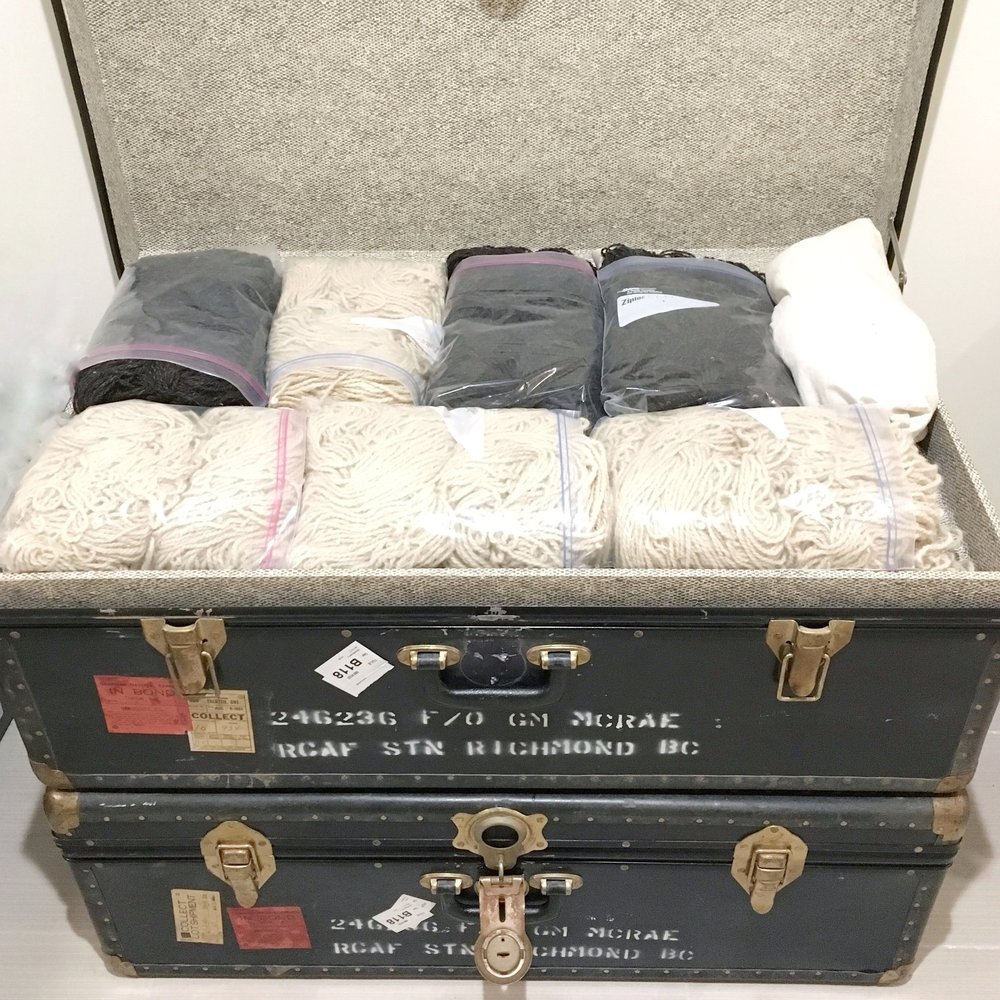
Related to that mindset, one of my biggest goals is to make 2017 a year where I focus on destashing. I’ve got trunks full of yarn with projects in mind for most of it and because I’m the world’s slowest knitter I’m trying to focus on chipping away at those. They’re all patterns and garments that I’ve had my eye on for a long time (my next sweater project has been in my Ravelry queue since November 2015.) I know I want to knit these items, and I have the means to do so, but they keep being pushed to the back of the list by shiny new project ideas. So a big part of how I’ve been sticking to this goal is that I’ve put myself on a strict yarn diet. I know that if I get excited about a new project and buy soft new yarn to make it out of then the equally soft equally lovely yarn for an equally exciting project that I already own will get pushed to the back of the queue and forgotten about. That’s how I ended up with trunks worth of yarn for personal projects in the first place.
I’m very good at enjoying the process of knitting a garment. I try to remain present and aware of each step in the creation of whatever I’m making, which is good because if I was only interested in the finished product then I’d have quit a long time ago. But even with the whole idea of mindful focus and enjoyment of the present project, guess what? Not buying yarn is hard you guys! So I have a sneaky way around this: I’m only allowing myself to purchase yarn for specific business-related projects. Obviously custom orders and made to order items will require new yarn when I run out of my current stockpiles (aka this is a casual plea to order something please, so that I can engage in retail therapy) and as I branch into design work I’m allowing myself to purchase yarn in order to knit my sample garments. One day I’ll be a big deal and my favourite yarn companies will send me yarn support to develop patterns for them, but for now, I’m just plugging away slowly, making things that I dream up out of yarn that I can afford on a student’s budget.
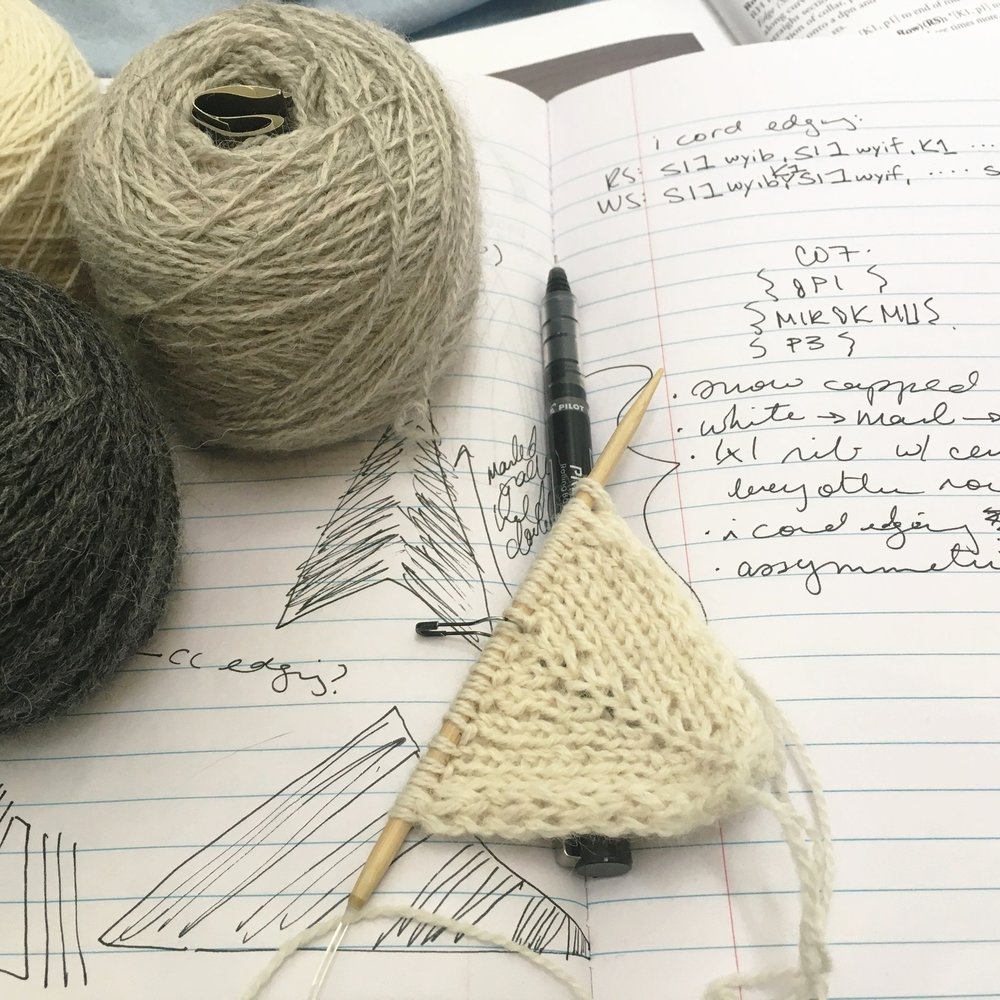
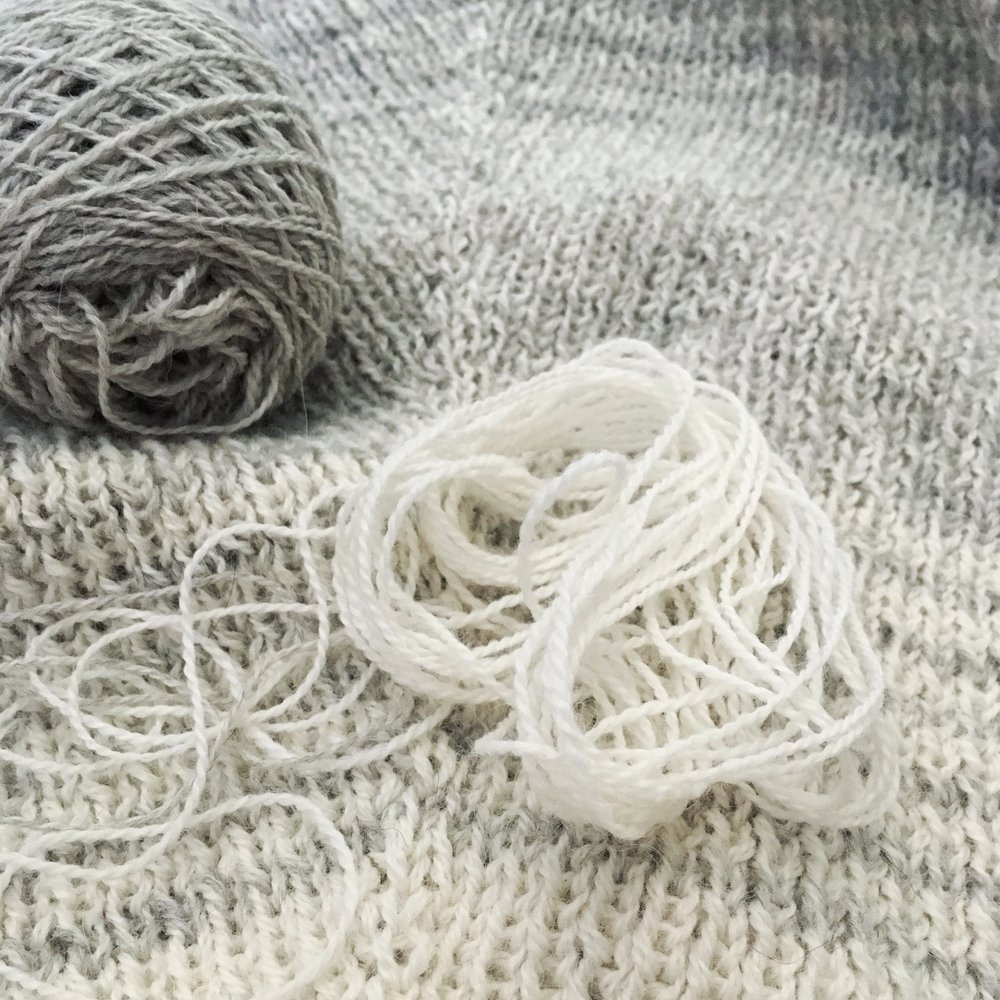
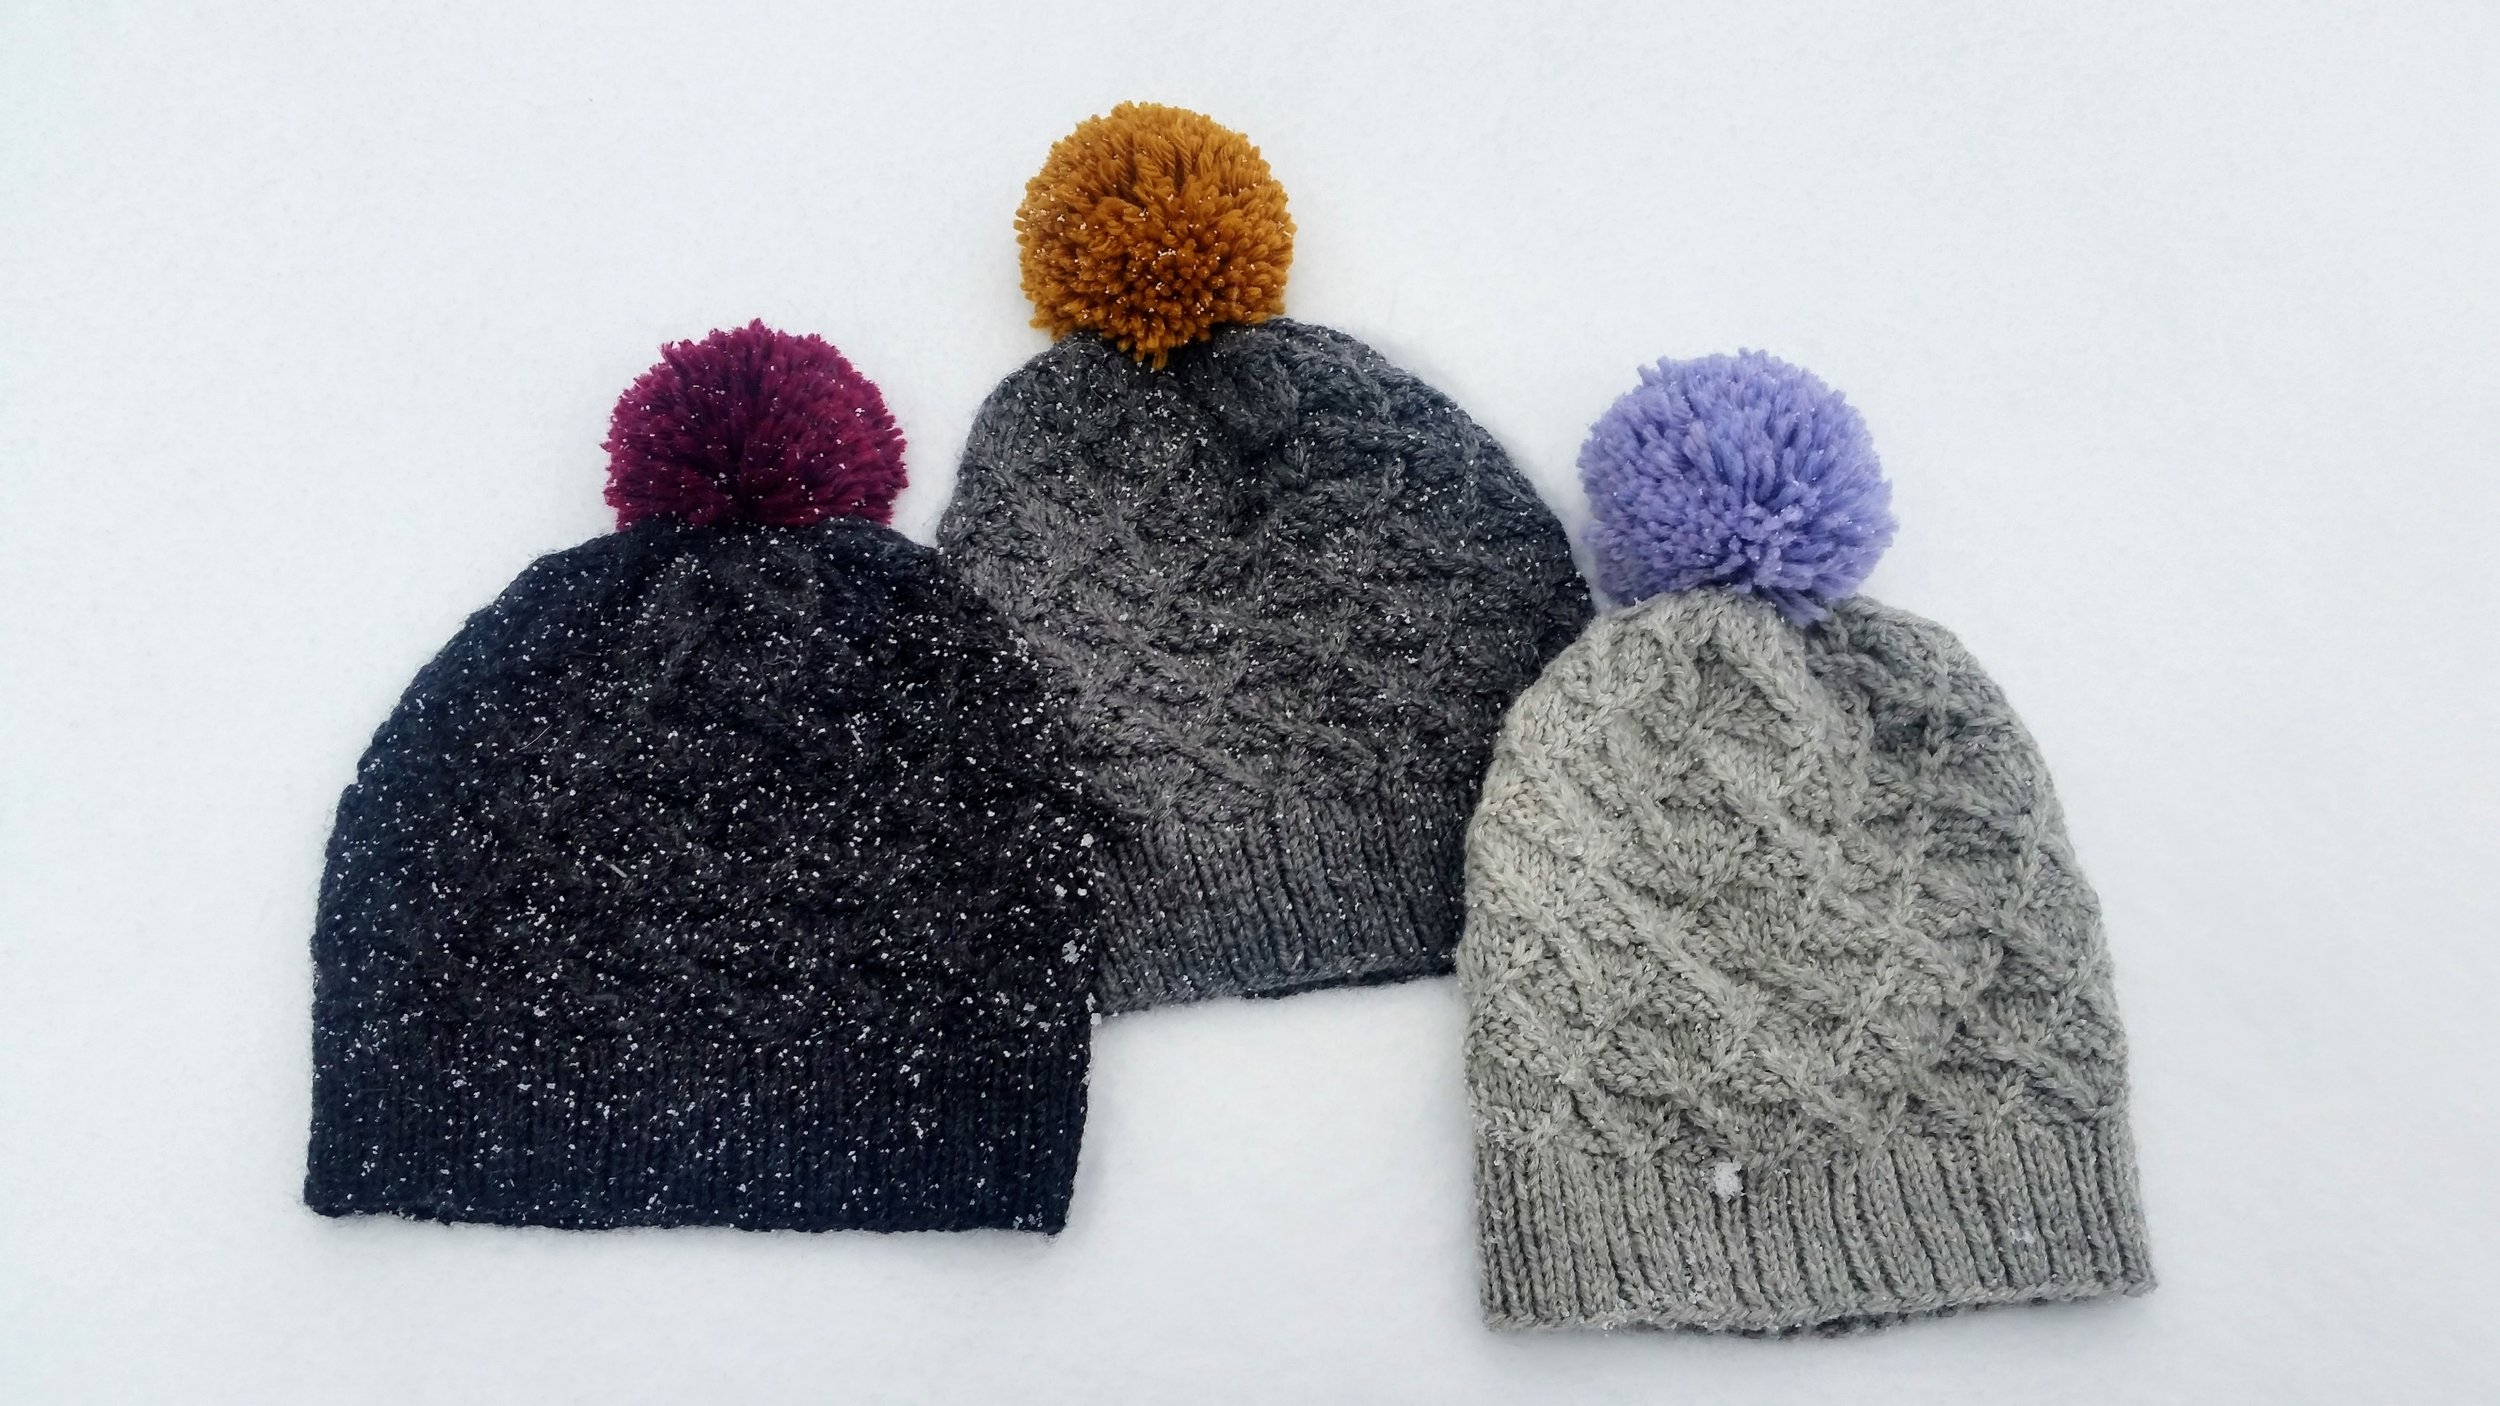
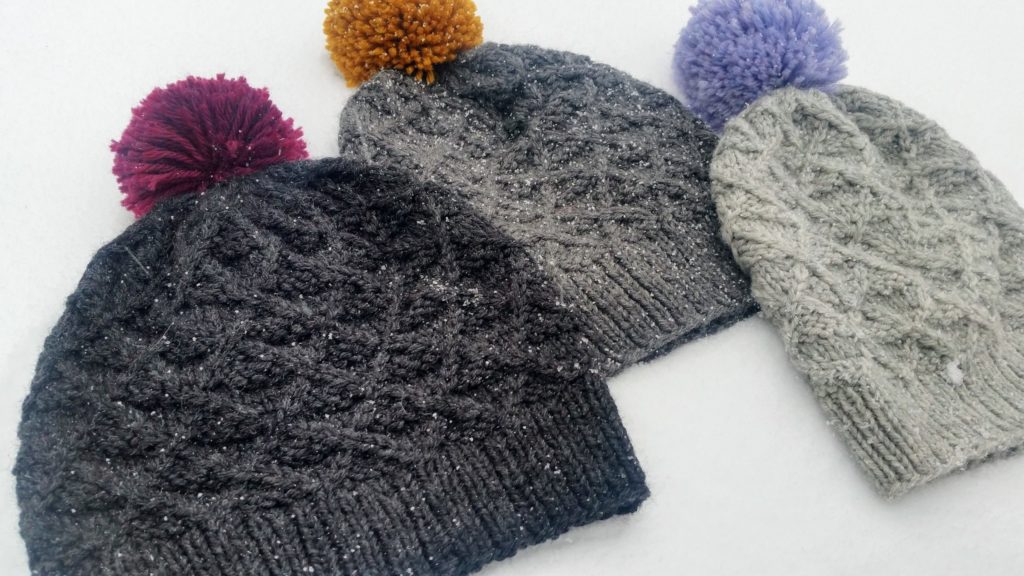
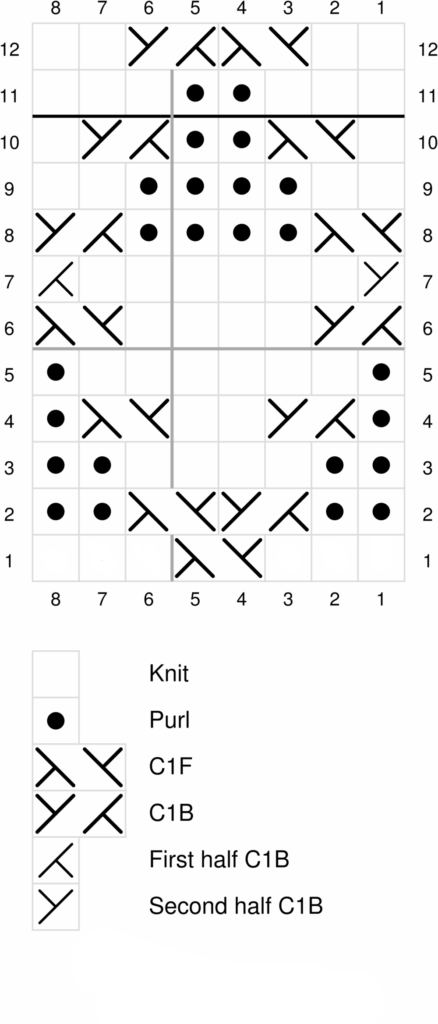
This leads me to another one of my goals, which I’ve started to put a lot of energy into working towards in the past few weeks. I recently published the patterns to all three hats in my Autumn in the City collection (they’re free on the blog here, here, and here) and listed them on Ravelry. Writing them out and sharing these patterns was something that I put off for quite a while but I found that I really enjoyed the process. Because of this, earlier in the month I enrolled in the 10 day long Initiate Knit Design Challenge put on by Francoise of Aroha Knits on a whim. I’ve been knitting for a long time and I frequently modify patterns and figure out how to make things for myself all the time, but have always felt intimidated by formal pattern writing so I’m hoping that in what remains of the year I’ll be able to publish a few fully developed patterns that other people can knit for themselves and take inspiration from. I’m currently in the process knitting up my sample from the design I came up with during the challenge, which will be an asymmetrical triangle shawl done in fingering weight yarn held double to make use of a marled gradient. I’ll put out a call for test knitters once I’ve hammered out some of the details so if you’d like a chance to be one of the first ones to knit it, then subscribe to my mailing list or follow me on Instagram.
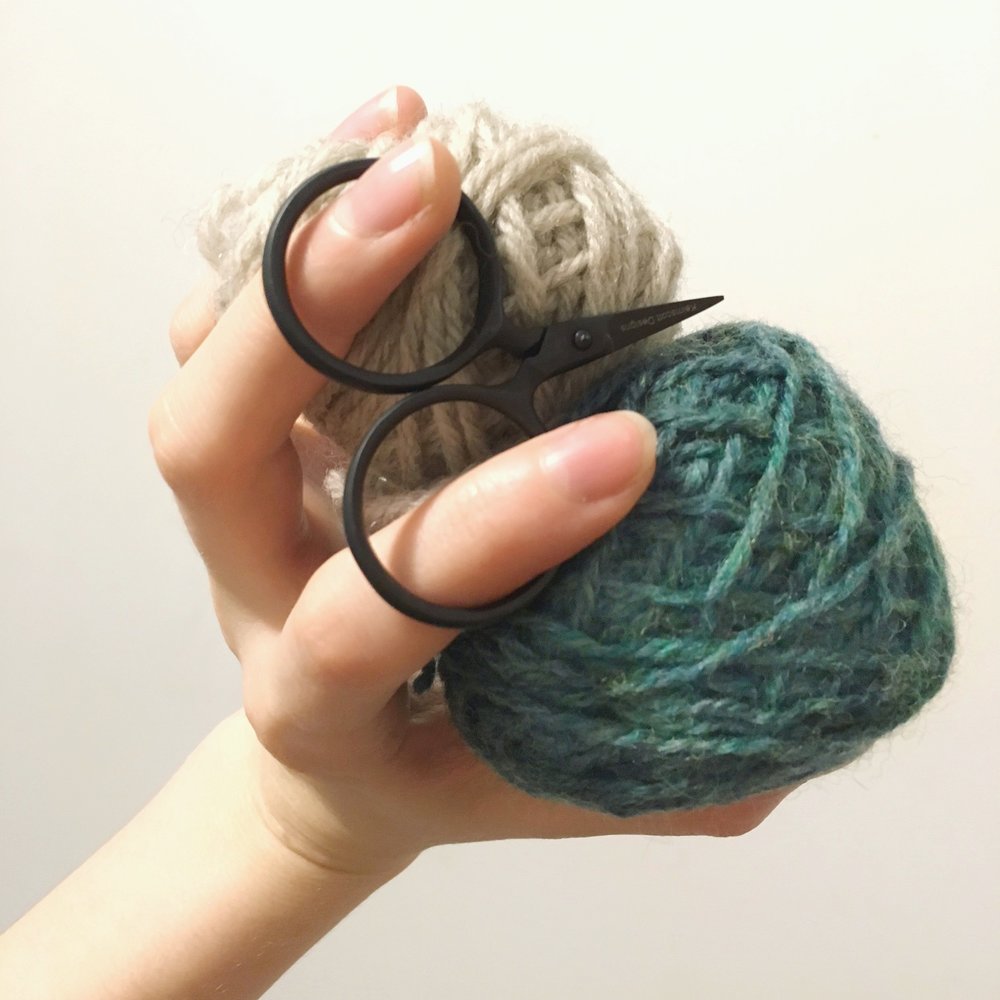
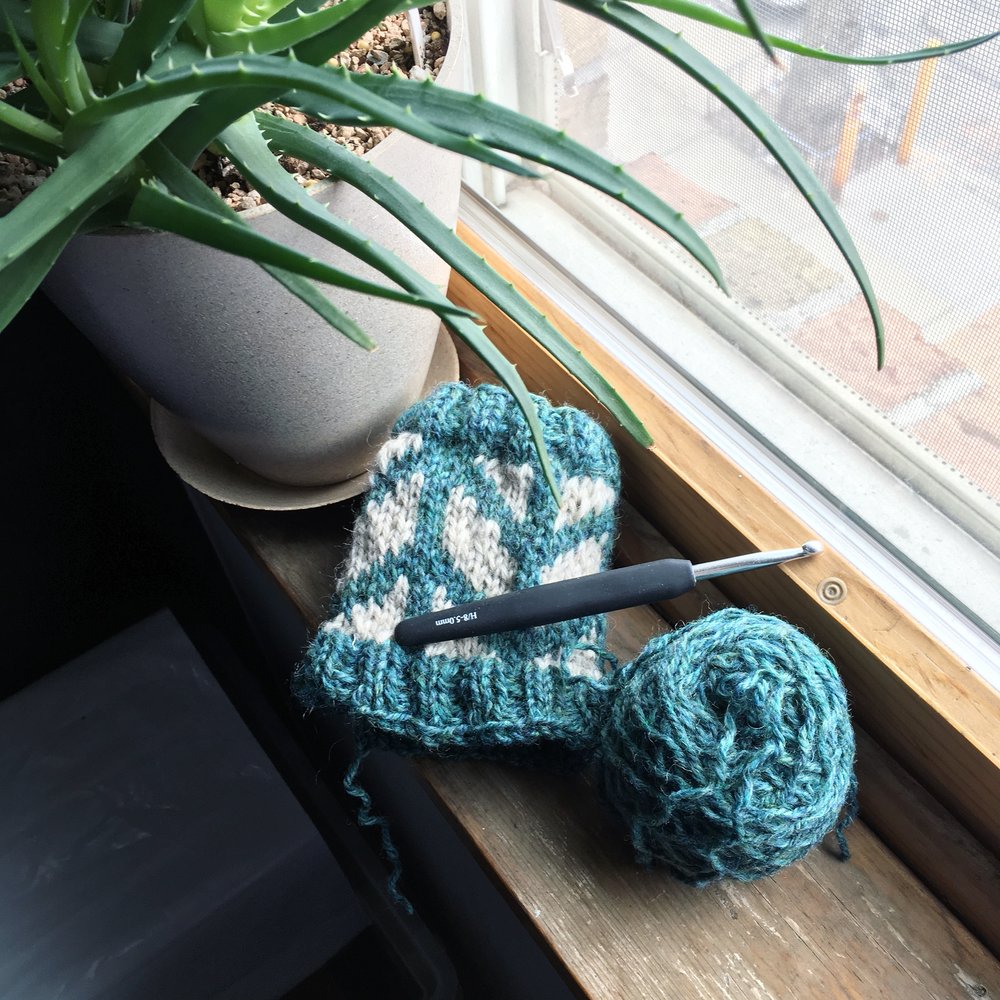
I also participated in a fun little knitalong on Instagram at the beginning of April run by Shannon Cook, Caitlyn Hunter, and Andrea Mowry where we practised steeking. Steeking was on my 2017 knitting bucket list, but I never really understood how it worked further than the fact that you basically cut your knitting in half. The #stEEKal was quick and easy, we knit up and then cut up some swatches, but it was a really good opportunity for me to do some research on the concepts behind steeking and when and why it would be useful. It makes sense to me now that the whole thing doesn’t fall apart even with minimal reinforcement because knitting unravels horizontally and a steek cuts through the work vertically (knitting theory is so cool you guys, I swear!) And it makes sense to me that a stranded colourwork project like a cardigan would be easier to work in the round where you don’t have to carry your ends back and forth across the work like you would if you worked it flat, hence the reason people do this crazy thing. That’s not to say that the idea of knitting up a full garment and then taking scissors to it doesn’t scare the pants off me still, but at least I have some practice under my belt before I decide to woman up and do the real thing on a real project. I’ve had my eyes set on a Brooklyn Tweed Redshift shawl for a while (but am going to have to buy new yarn for that, so the official steek project might have to wait until I’m finished with my destash goals.)
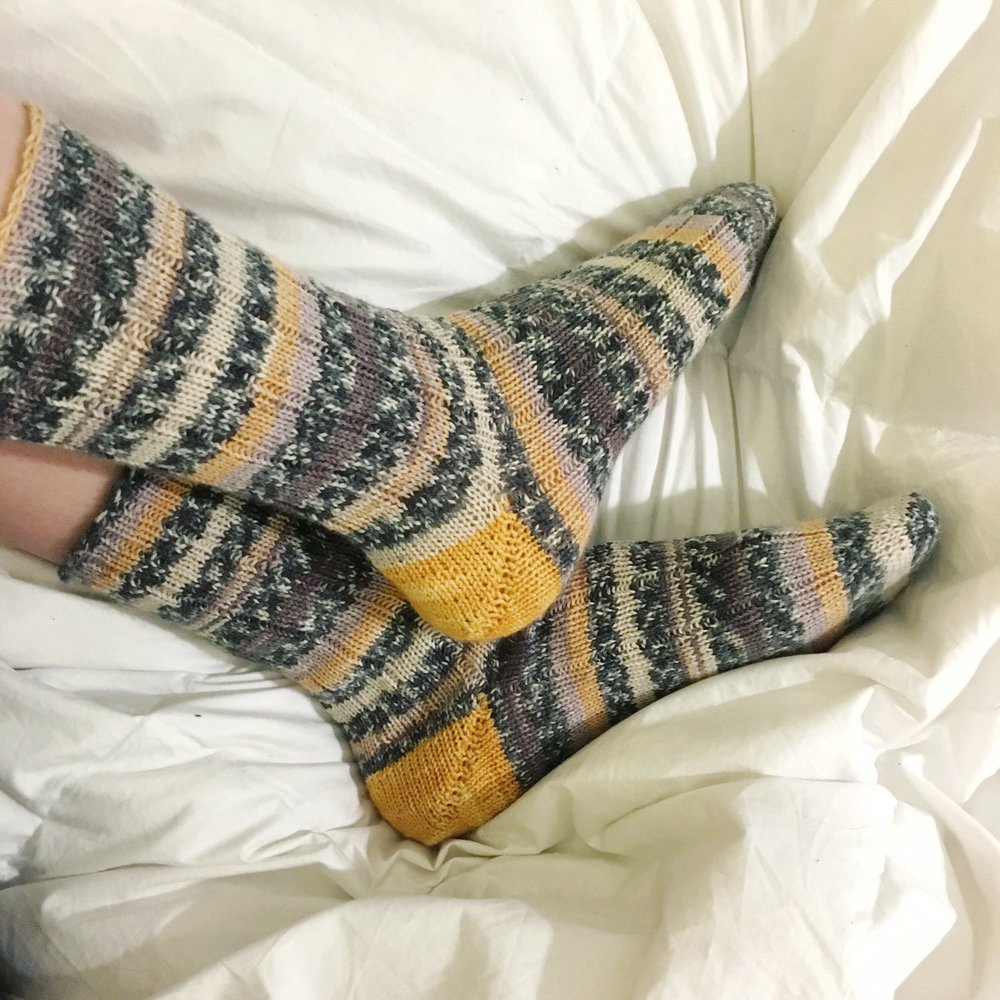
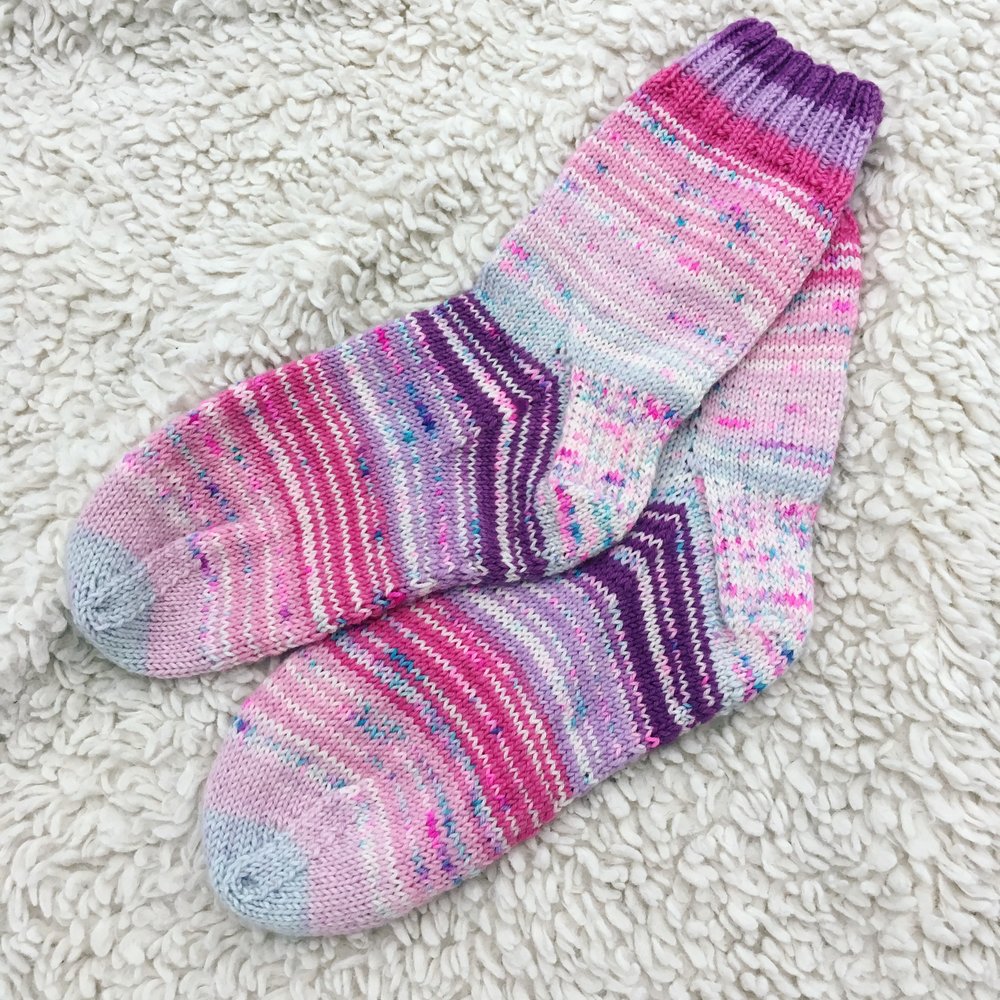
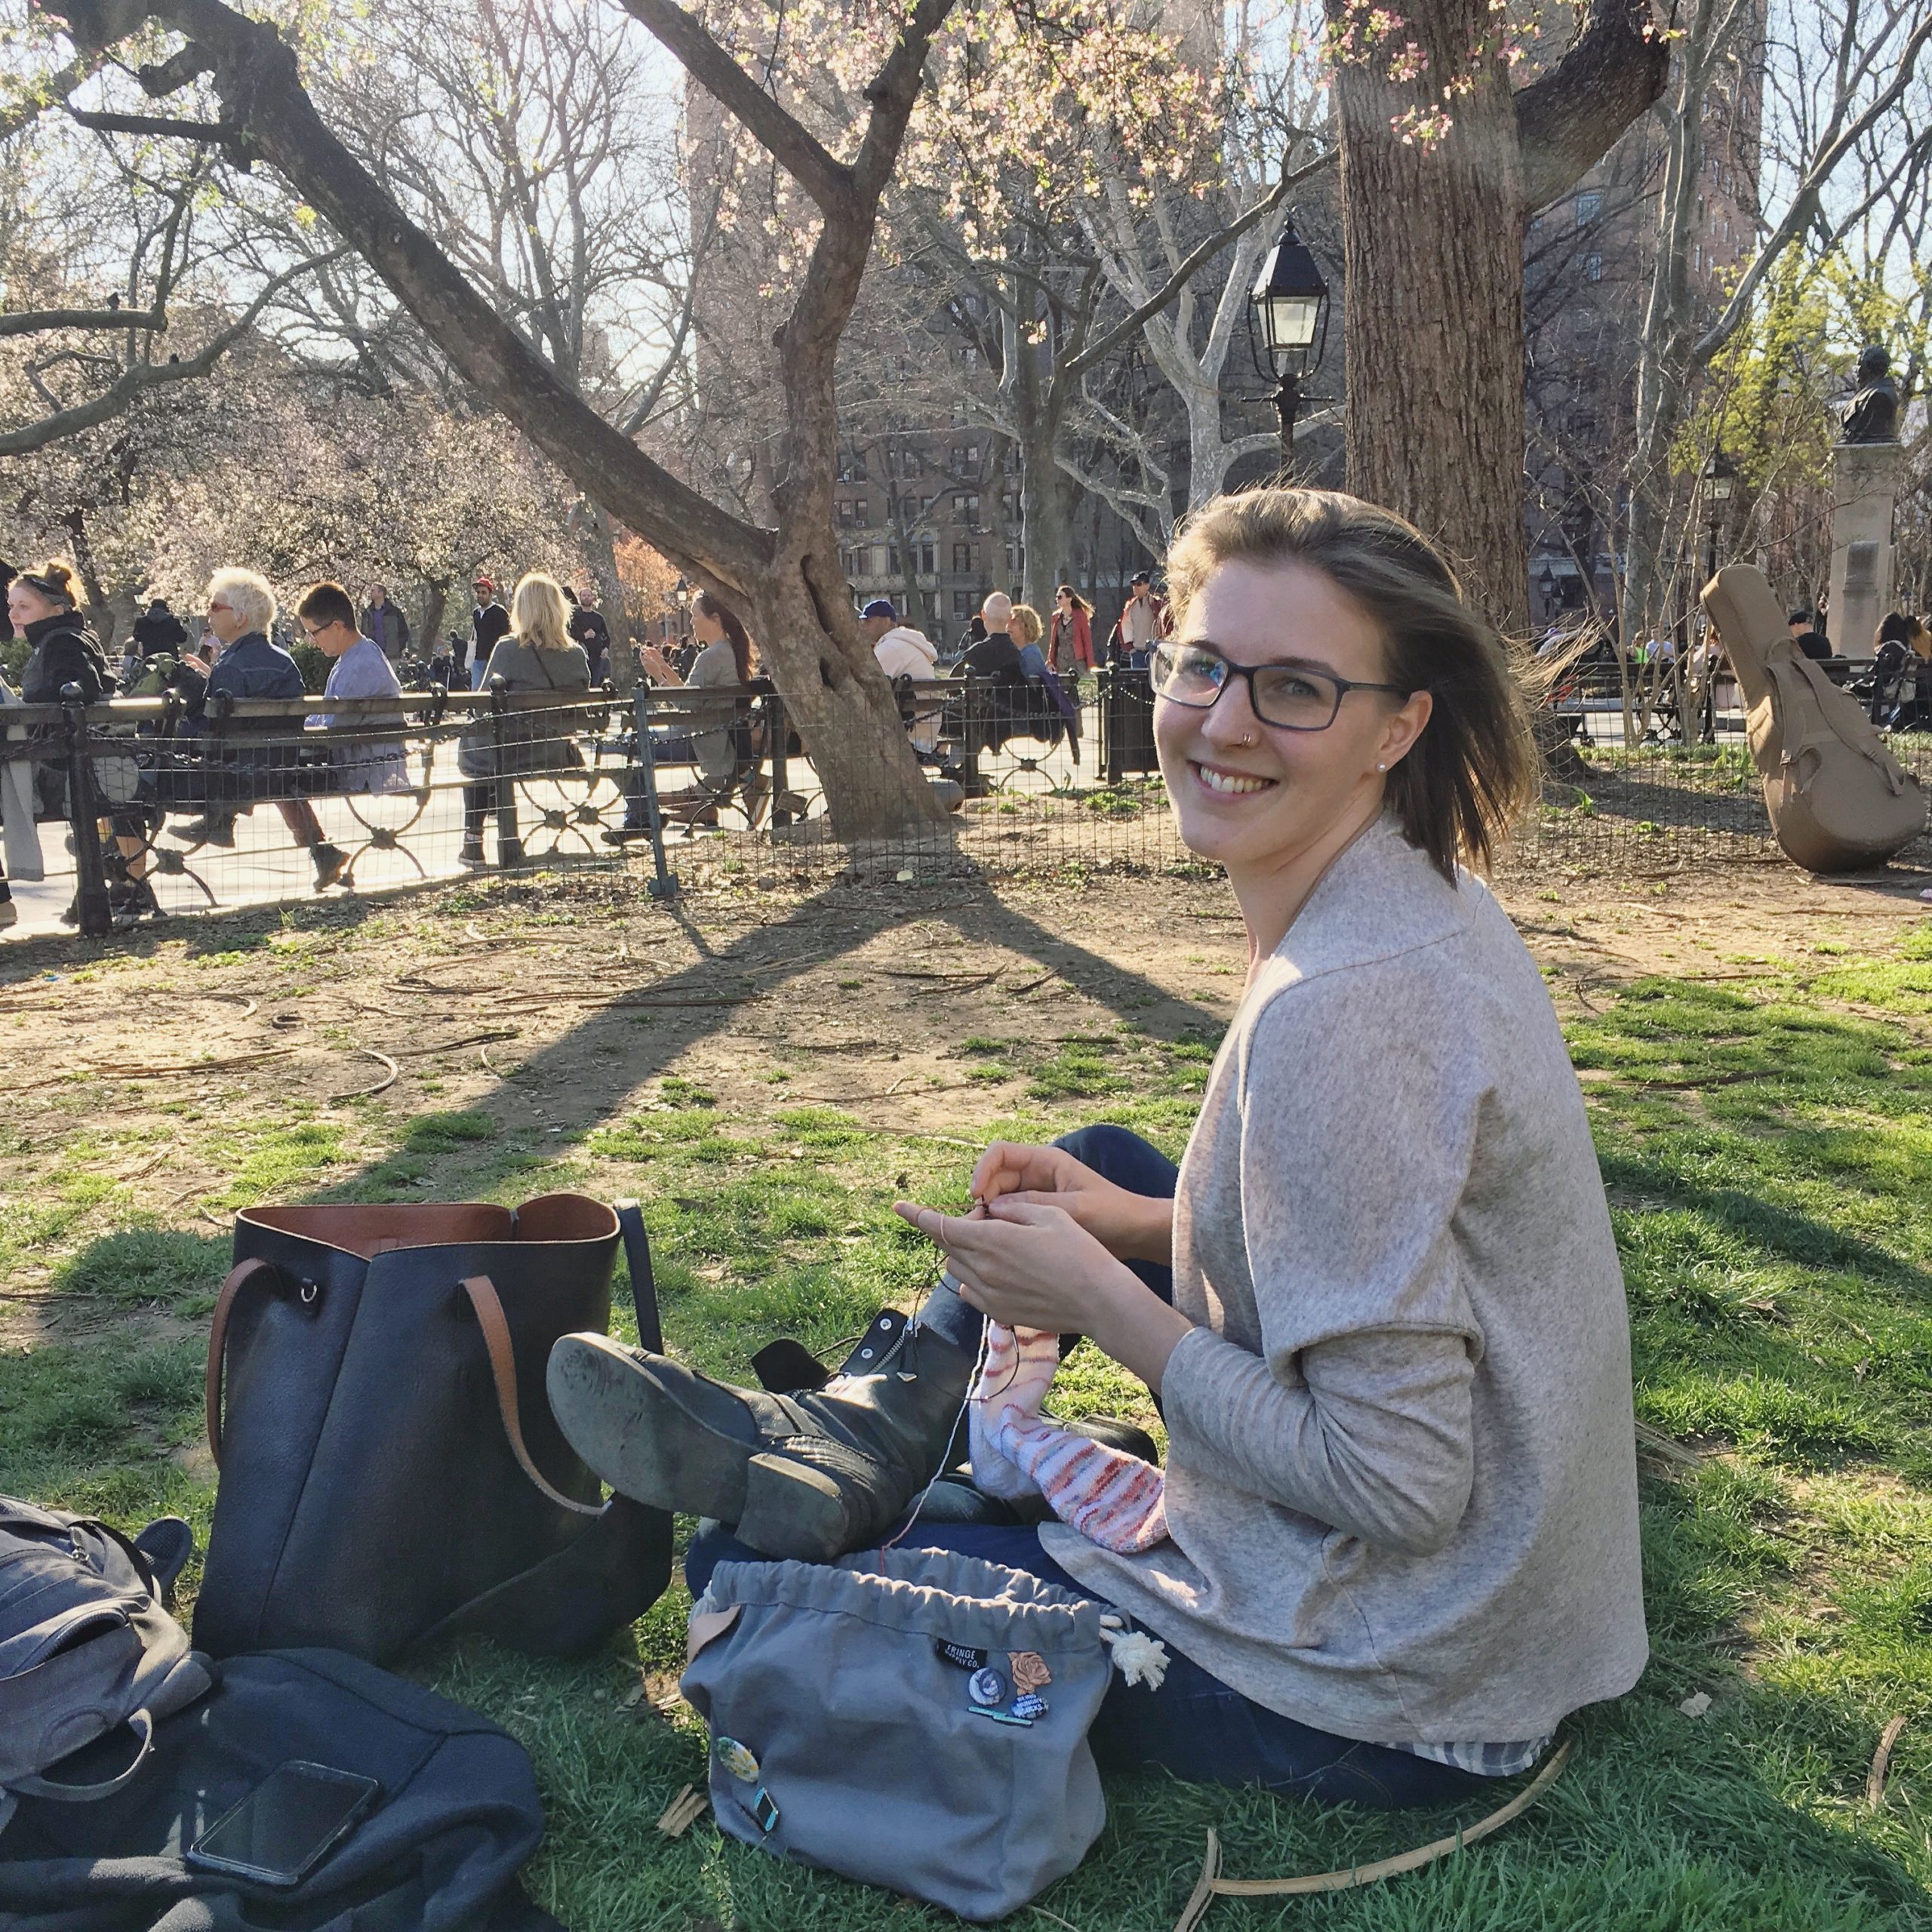
My last big knitting goal of the year is that I’m attempting to participate in the Box O Sox KAL challenge, and so far I’m (mostly) on pace for this. The idea is that if you knit a pair of socks every month, by the end of the year you’ll have a whole box worth of lovely handmade toe warmers to treasure for years to come. After being (needlessly) intimidated by how fiddly and complicated it seemed, I finally knit my first pair of socks shortly before Christmas 2015 and was immediately hooked. Because I’m an insane person, I then decided I was going to knit a pair for each member of my immediate family and banged out four pairs within a month. I’m taking on the Box O Sox challenge with a little bit less of a fevered pace; I’ve knit five pairs of socks this year, but one I started on Christmas Eve and one was for someone else so two of those technically don’t count. Still, catching up is definitely doable. Socks are the most common type of project for me to take on my commute because they’re so portable and easy to pick up or put down in the middle of a row if I need to change trains or am distracted by subway performers so I can definitely make up an additional one or two pairs if I fall behind. I love my small collection of hand knit socks that I’ve put together thus far and am excited to add to it. In most of my other personal knitting, I lean towards neutrals like greys and beige and black with the occasional jewel tone, but with socks I go wild. I want colour, I want patterns, I want texture, I want speckles and stripes and gradients and excitement (and then I want to hide them inside my black boots, tucked under my black pants, but that’s another story.) One thing that I especially like about them is that because they’re small projects, I can afford to buy and use quality yarn from local indie dyers. Eventually, I would like to have a whole drawer filled with brightly coloured socks with a wide variety of heel constructions and patterns and yarns, but this year I’ll start by working towards filling a box with twelve.
What about you? Did you set any knitting goals this year? Where are you at in terms of your knitting bucket list?

